

Connect an app
Create an OIDC client for an app, give the app its client ID, secret and discovery URL, and choose who may sign in.
Every app that signs in with Pocket ID is an OIDC client. You create the client in Pocket ID, and the app gets three values from it: a client ID, a client secret and the discovery URL.
Client examples has the exact steps for nearly a hundred apps.
This page explains the steps they share, here for Immich at https://photos.example.com.
Create the client
Section titled “Create the client”-
Find the app’s callback URL, which some apps call the redirect URI. Pocket ID sends users back to it after they signed in, and only to the URLs you list. The app’s OIDC documentation names it, such as
https://photos.example.com/auth/loginfor Immich. -
In Pocket ID, open Administration → OIDC Clients and click Add OIDC Client. Enter a name, pick the client type and add the callback URL:
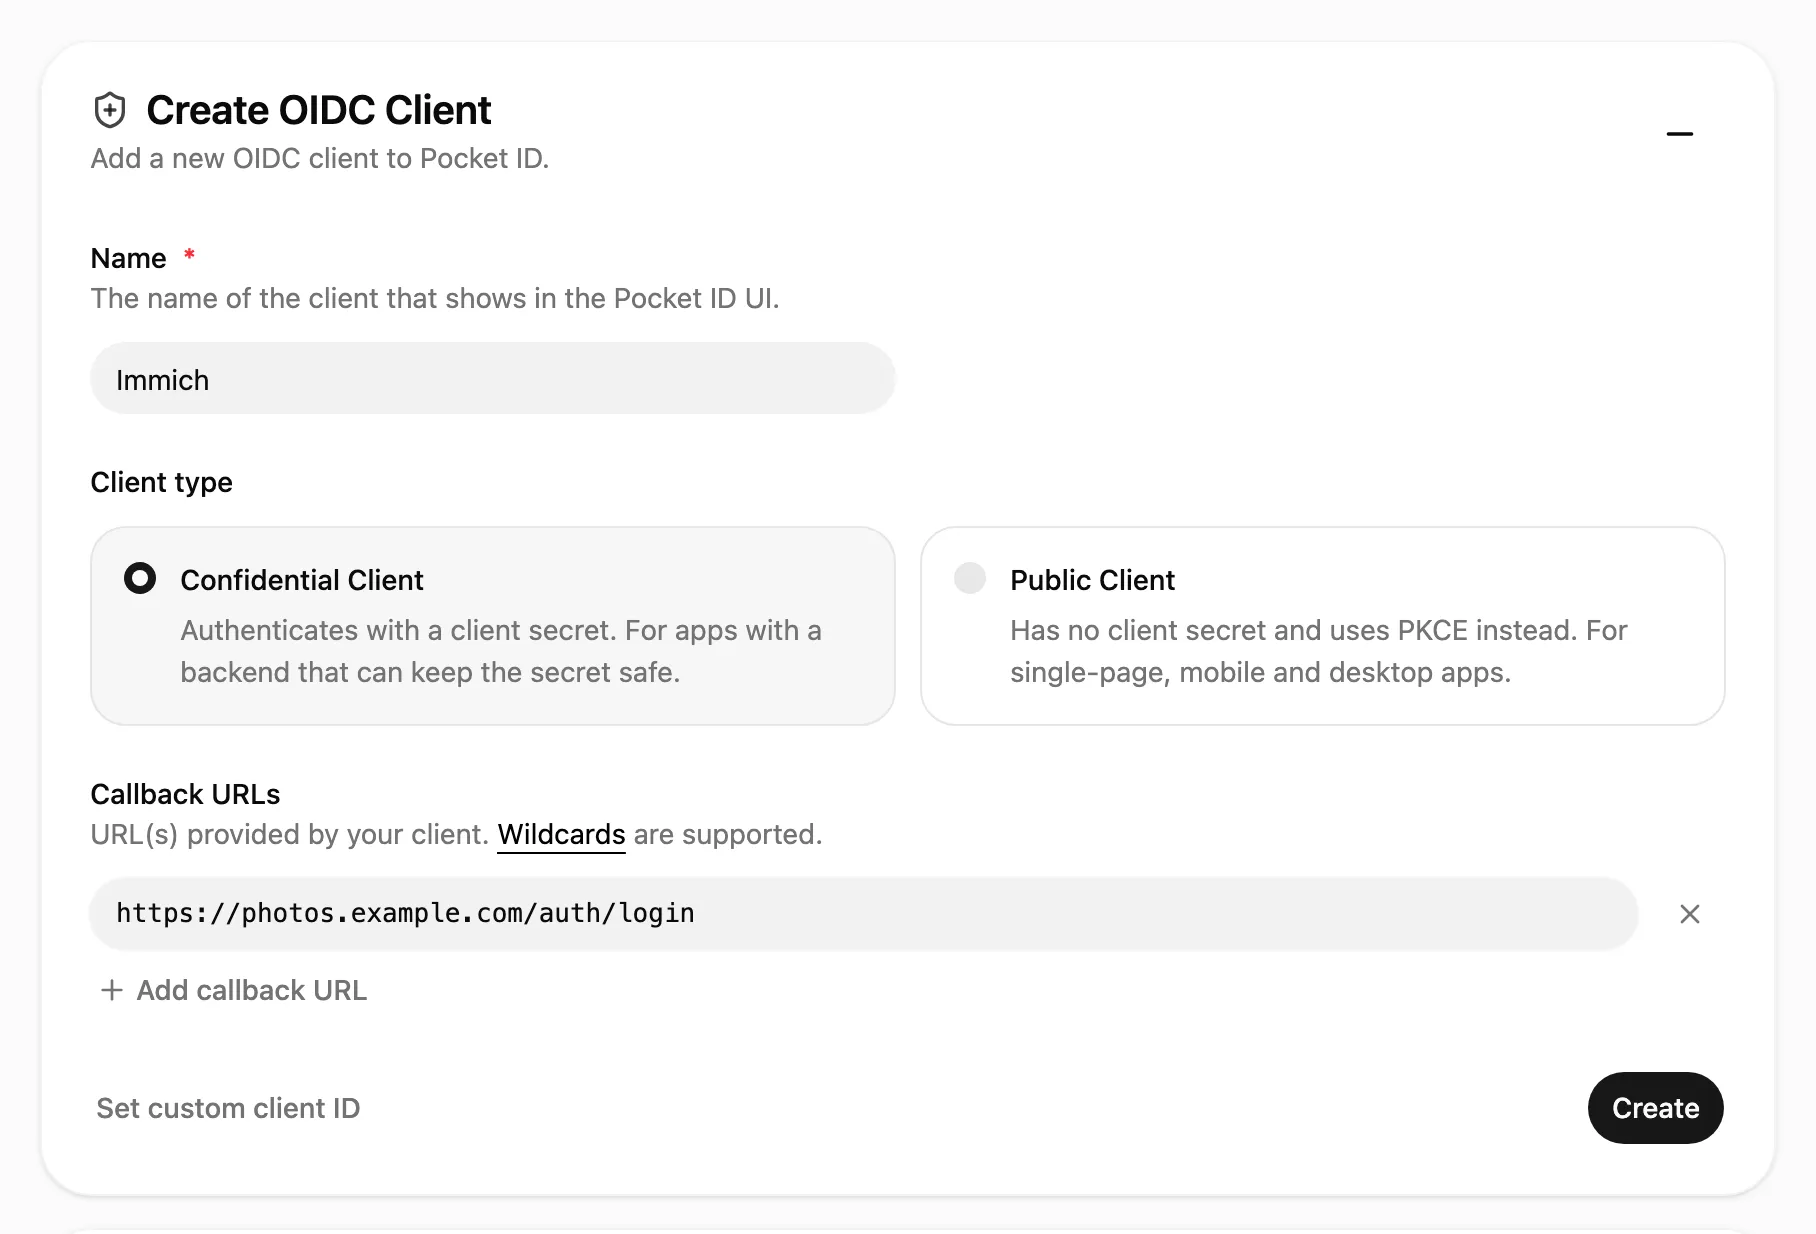
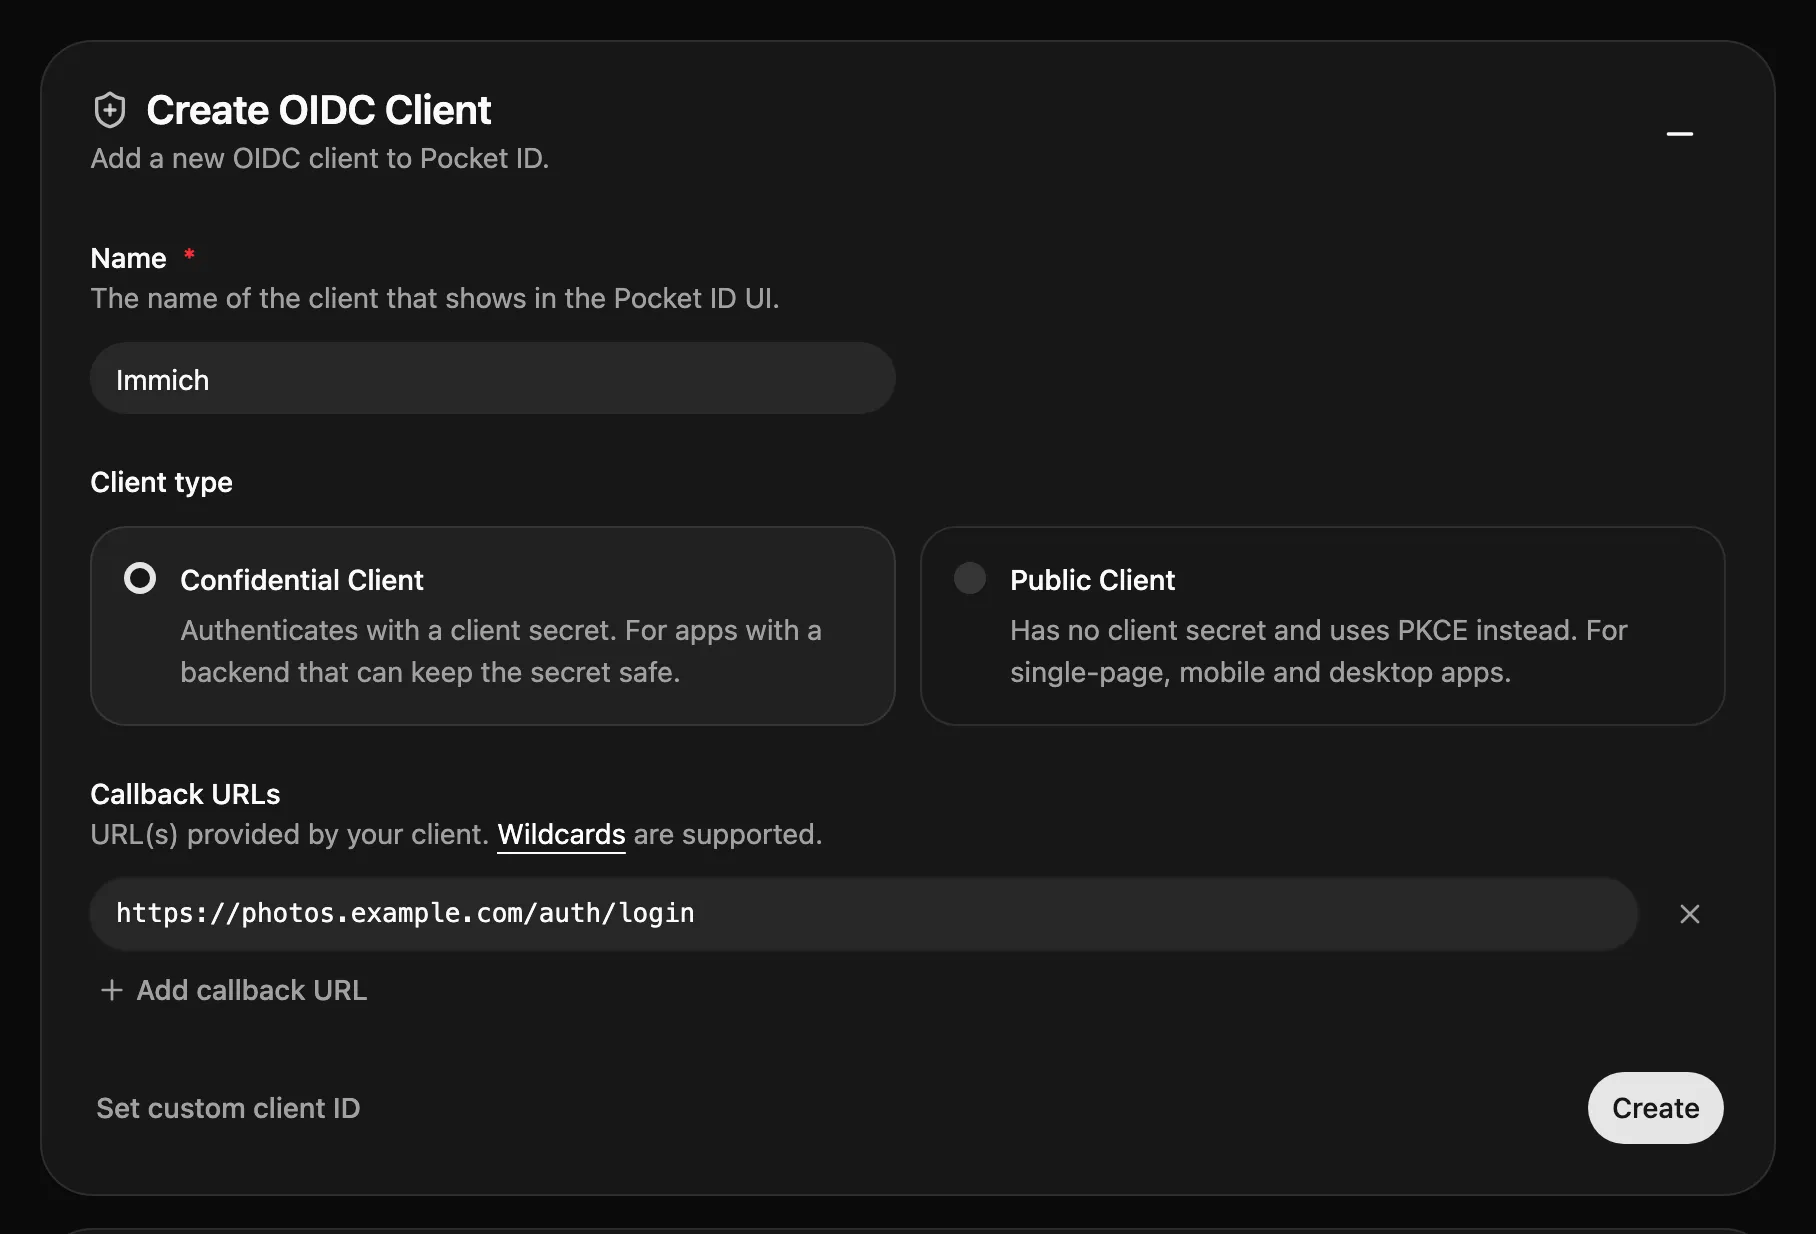
Most self-hosted apps have a backend, so they’re confidential clients that sign their requests with the client secret. Choose public client for single-page, mobile and desktop apps, which can’t keep a secret and use PKCE instead.
-
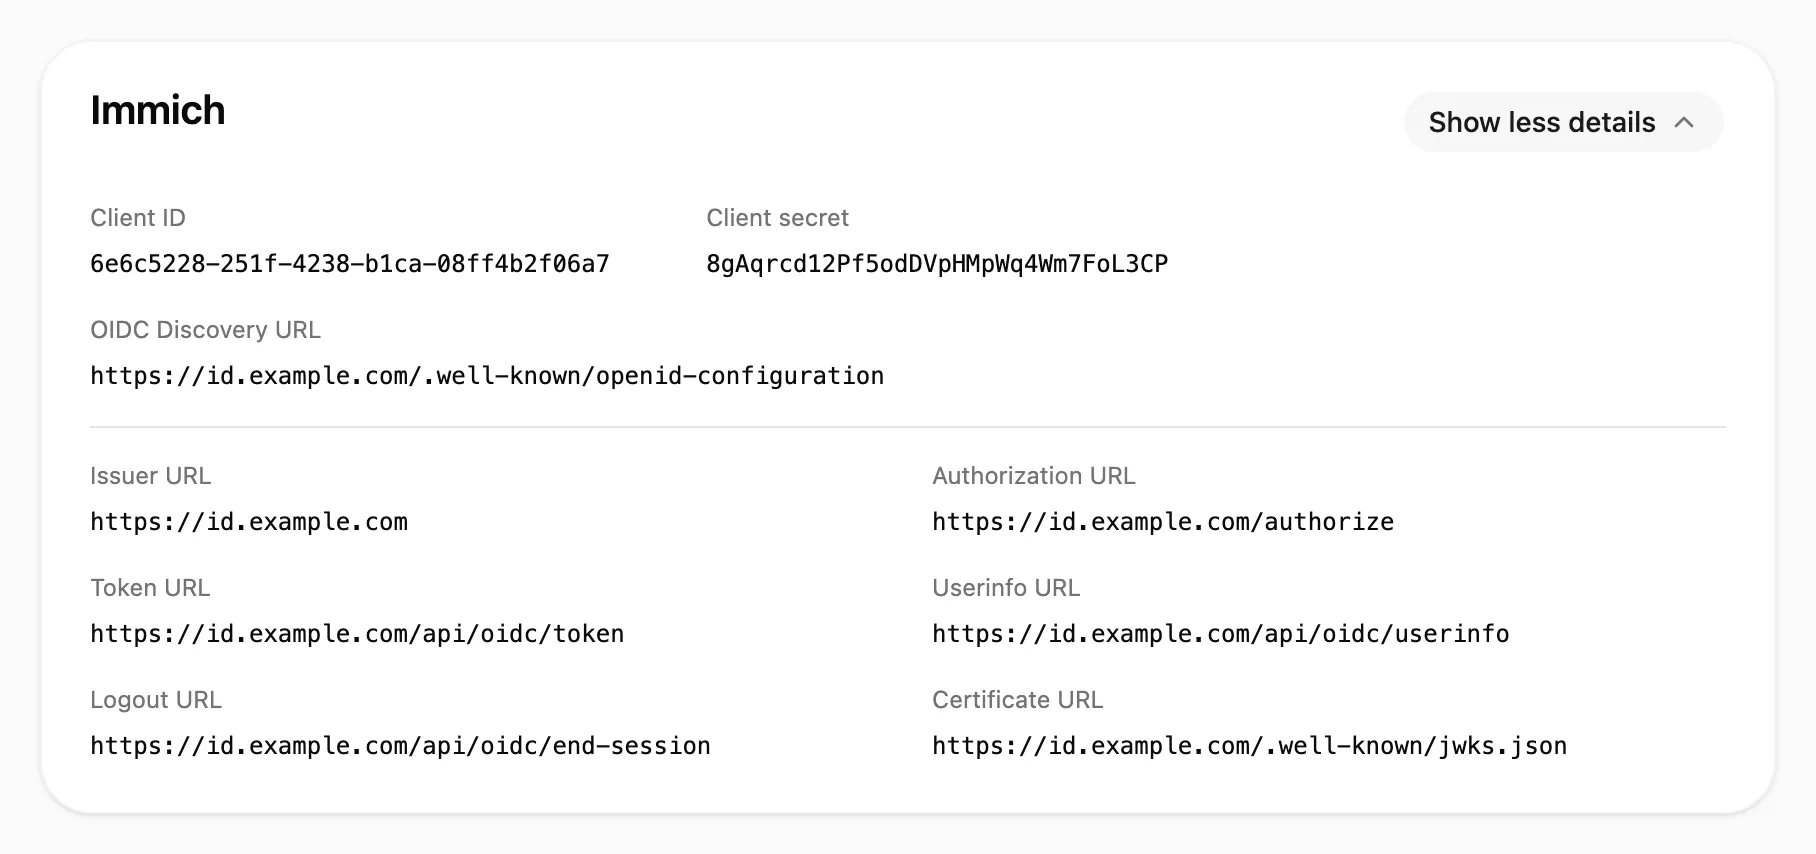
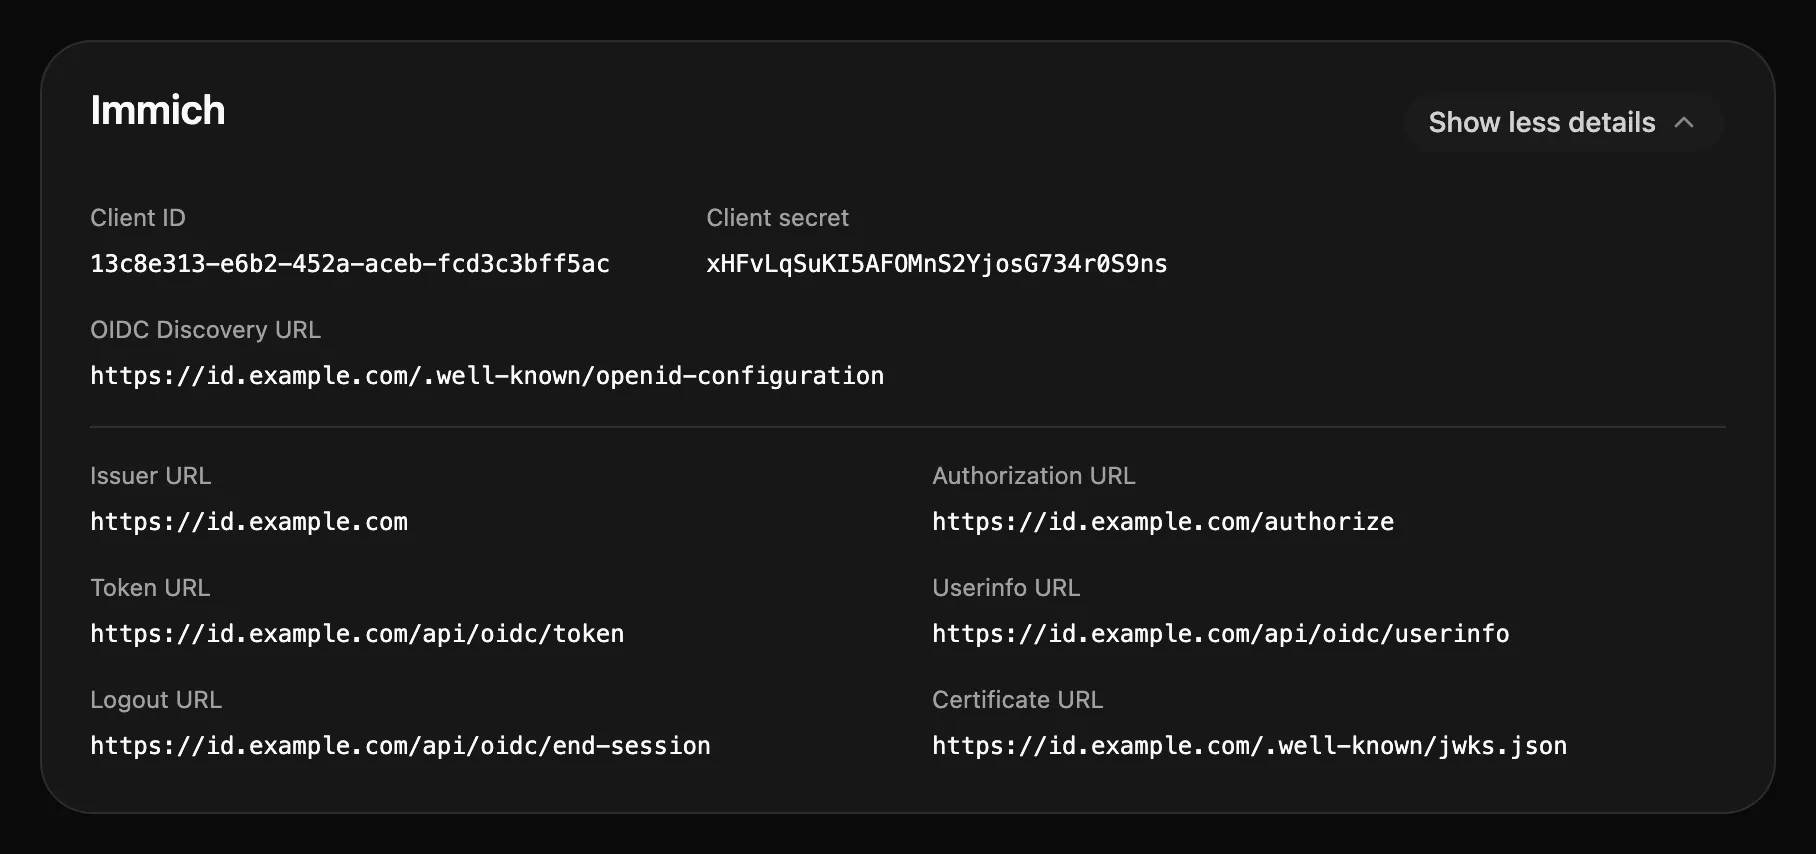
Click Create. The client’s page shows the values the app needs:
Choose who may sign in
Section titled “Choose who may sign in”A new client lets nobody in until you choose who may use it. On the client’s Access tab, select the groups whose members may sign in, or choose All Users:
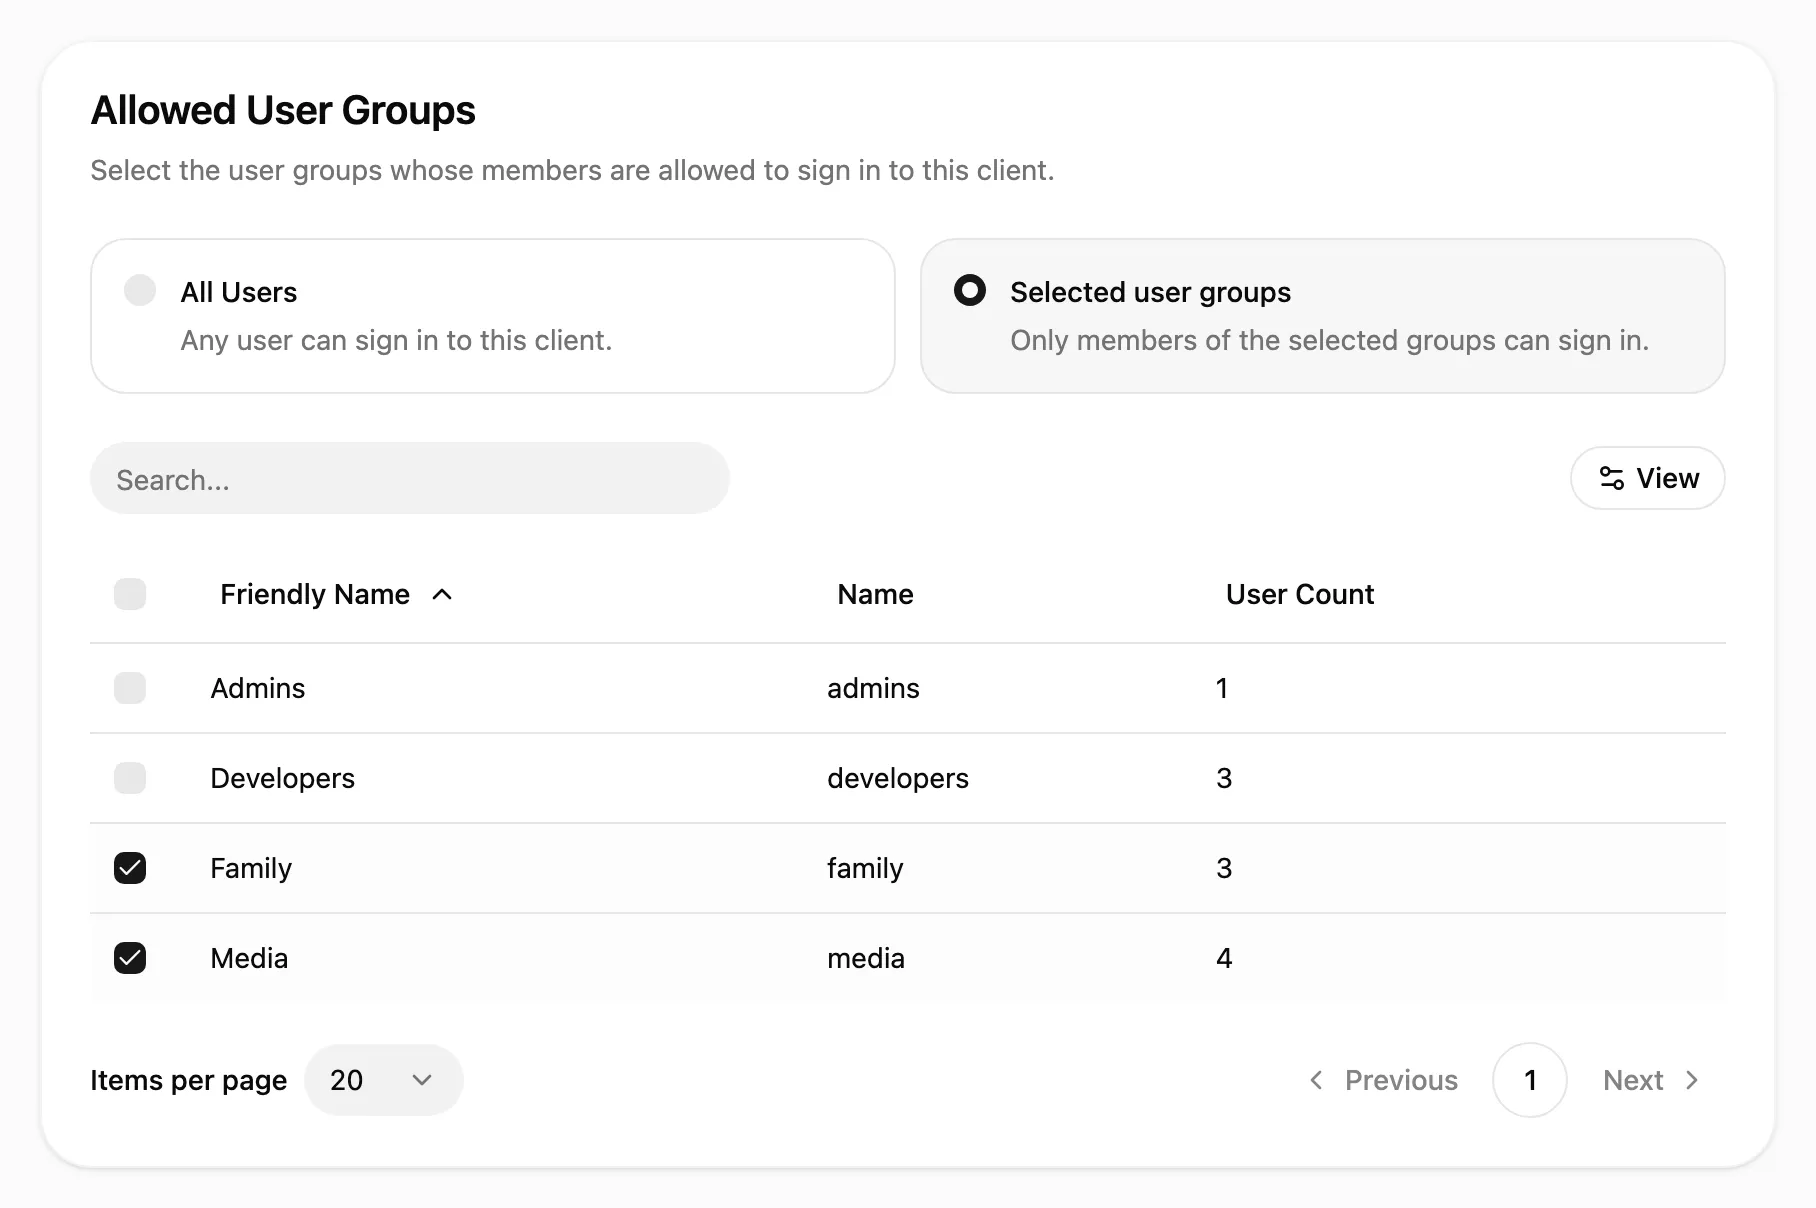
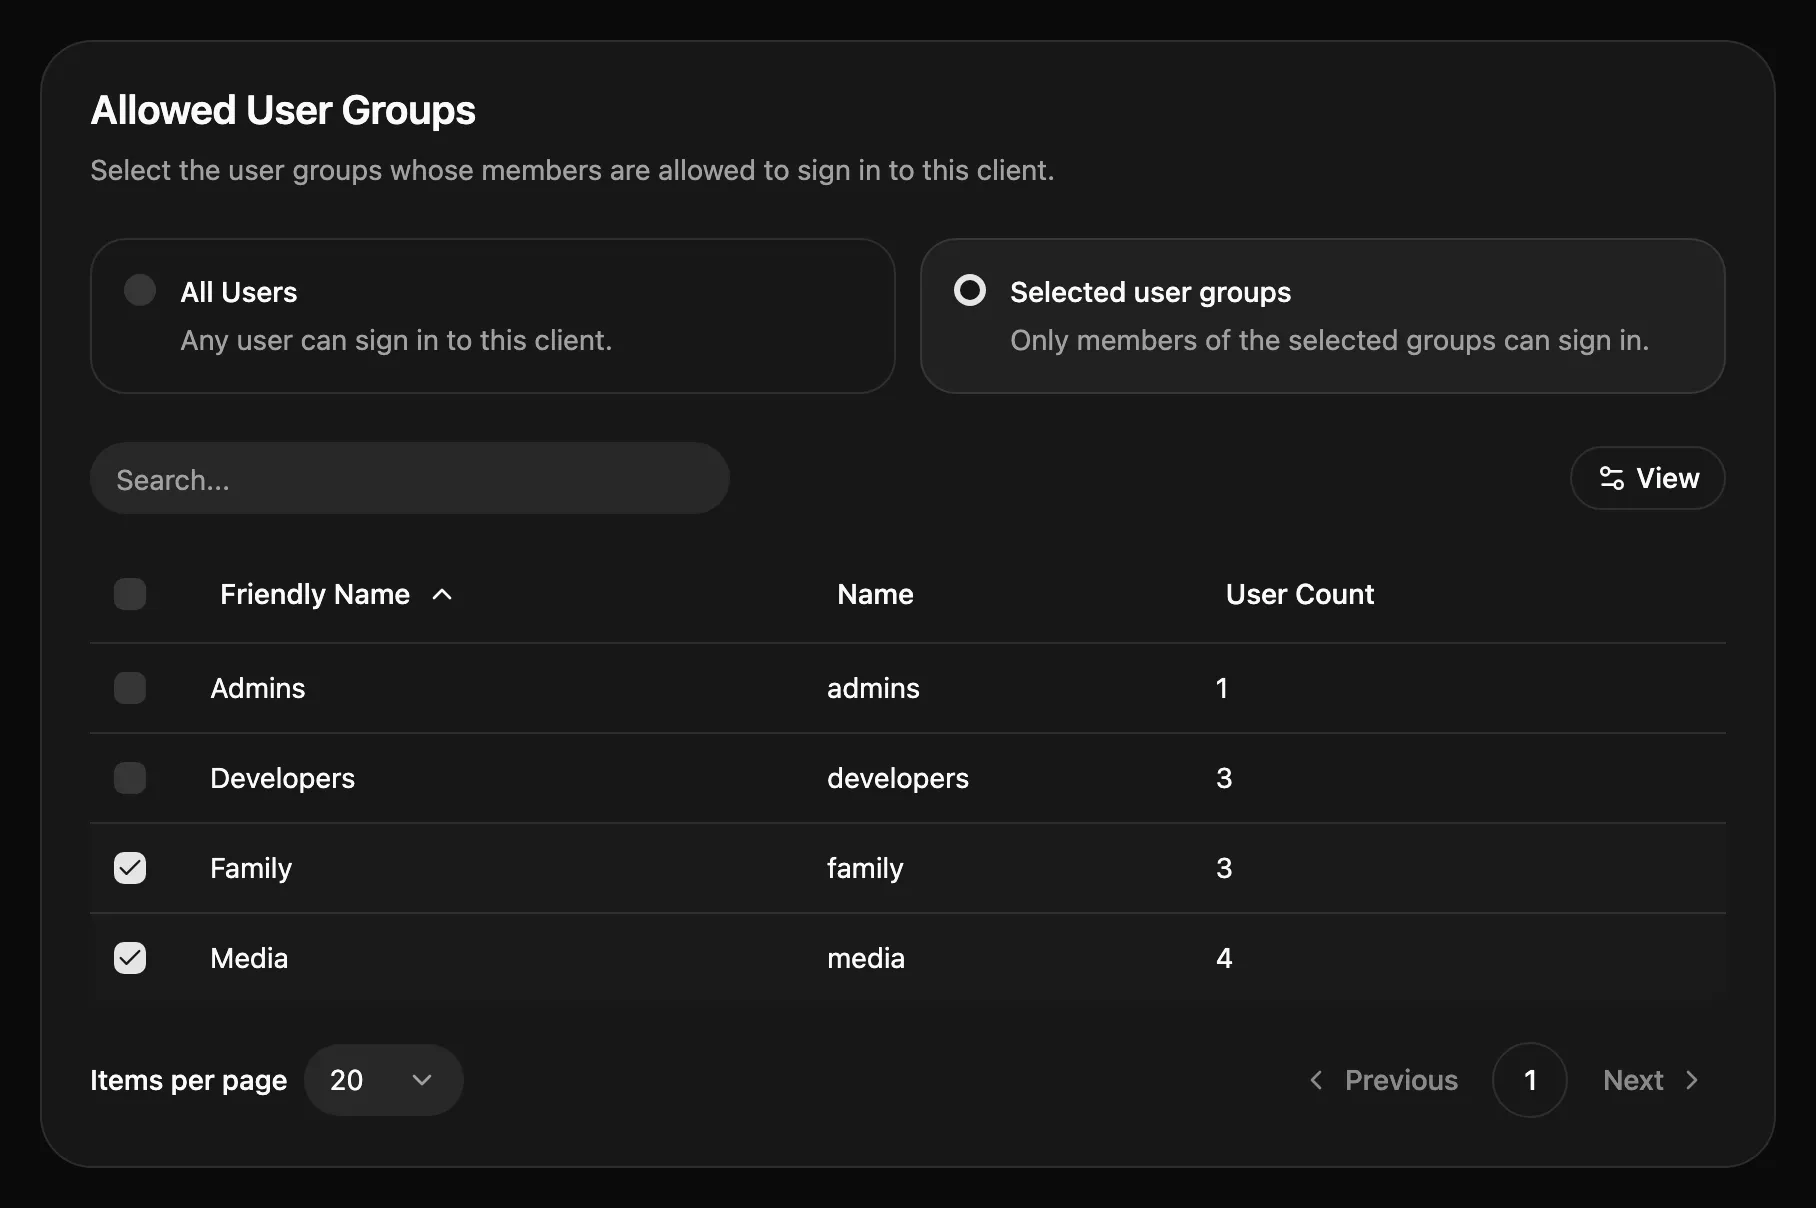
Everyone else gets “You are not allowed to access this service” when they try to sign in. Allowed user groups has the details.
Configure the app
Section titled “Configure the app”Enter the values from the client’s page in the app’s OIDC or SSO settings. Apps name the fields differently, but they map like this:
| The app asks for | Enter |
|---|---|
| Issuer, provider URL or authority | https://id.example.com, which is your APP_URL |
| Discovery, well-known or configuration URL | https://id.example.com/.well-known/openid-configuration |
| Client ID | The Client ID |
| Client secret | The Client secret, or nothing for a public client |
| Scopes | openid profile email, plus groups if the app assigns roles by group |
Some apps don’t read the discovery URL and ask for each endpoint instead. Show more details on the client’s page lists them, and Endpoints below has their paths.
The app’s server fetches tokens from Pocket ID directly, so the issuer URL has to work from the app’s container too, not only in your browser.
Test the sign-in
Section titled “Test the sign-in”Sign in to the app with its OIDC or SSO button. The first time you sign in to a client, Pocket ID asks whether to share your details with it:
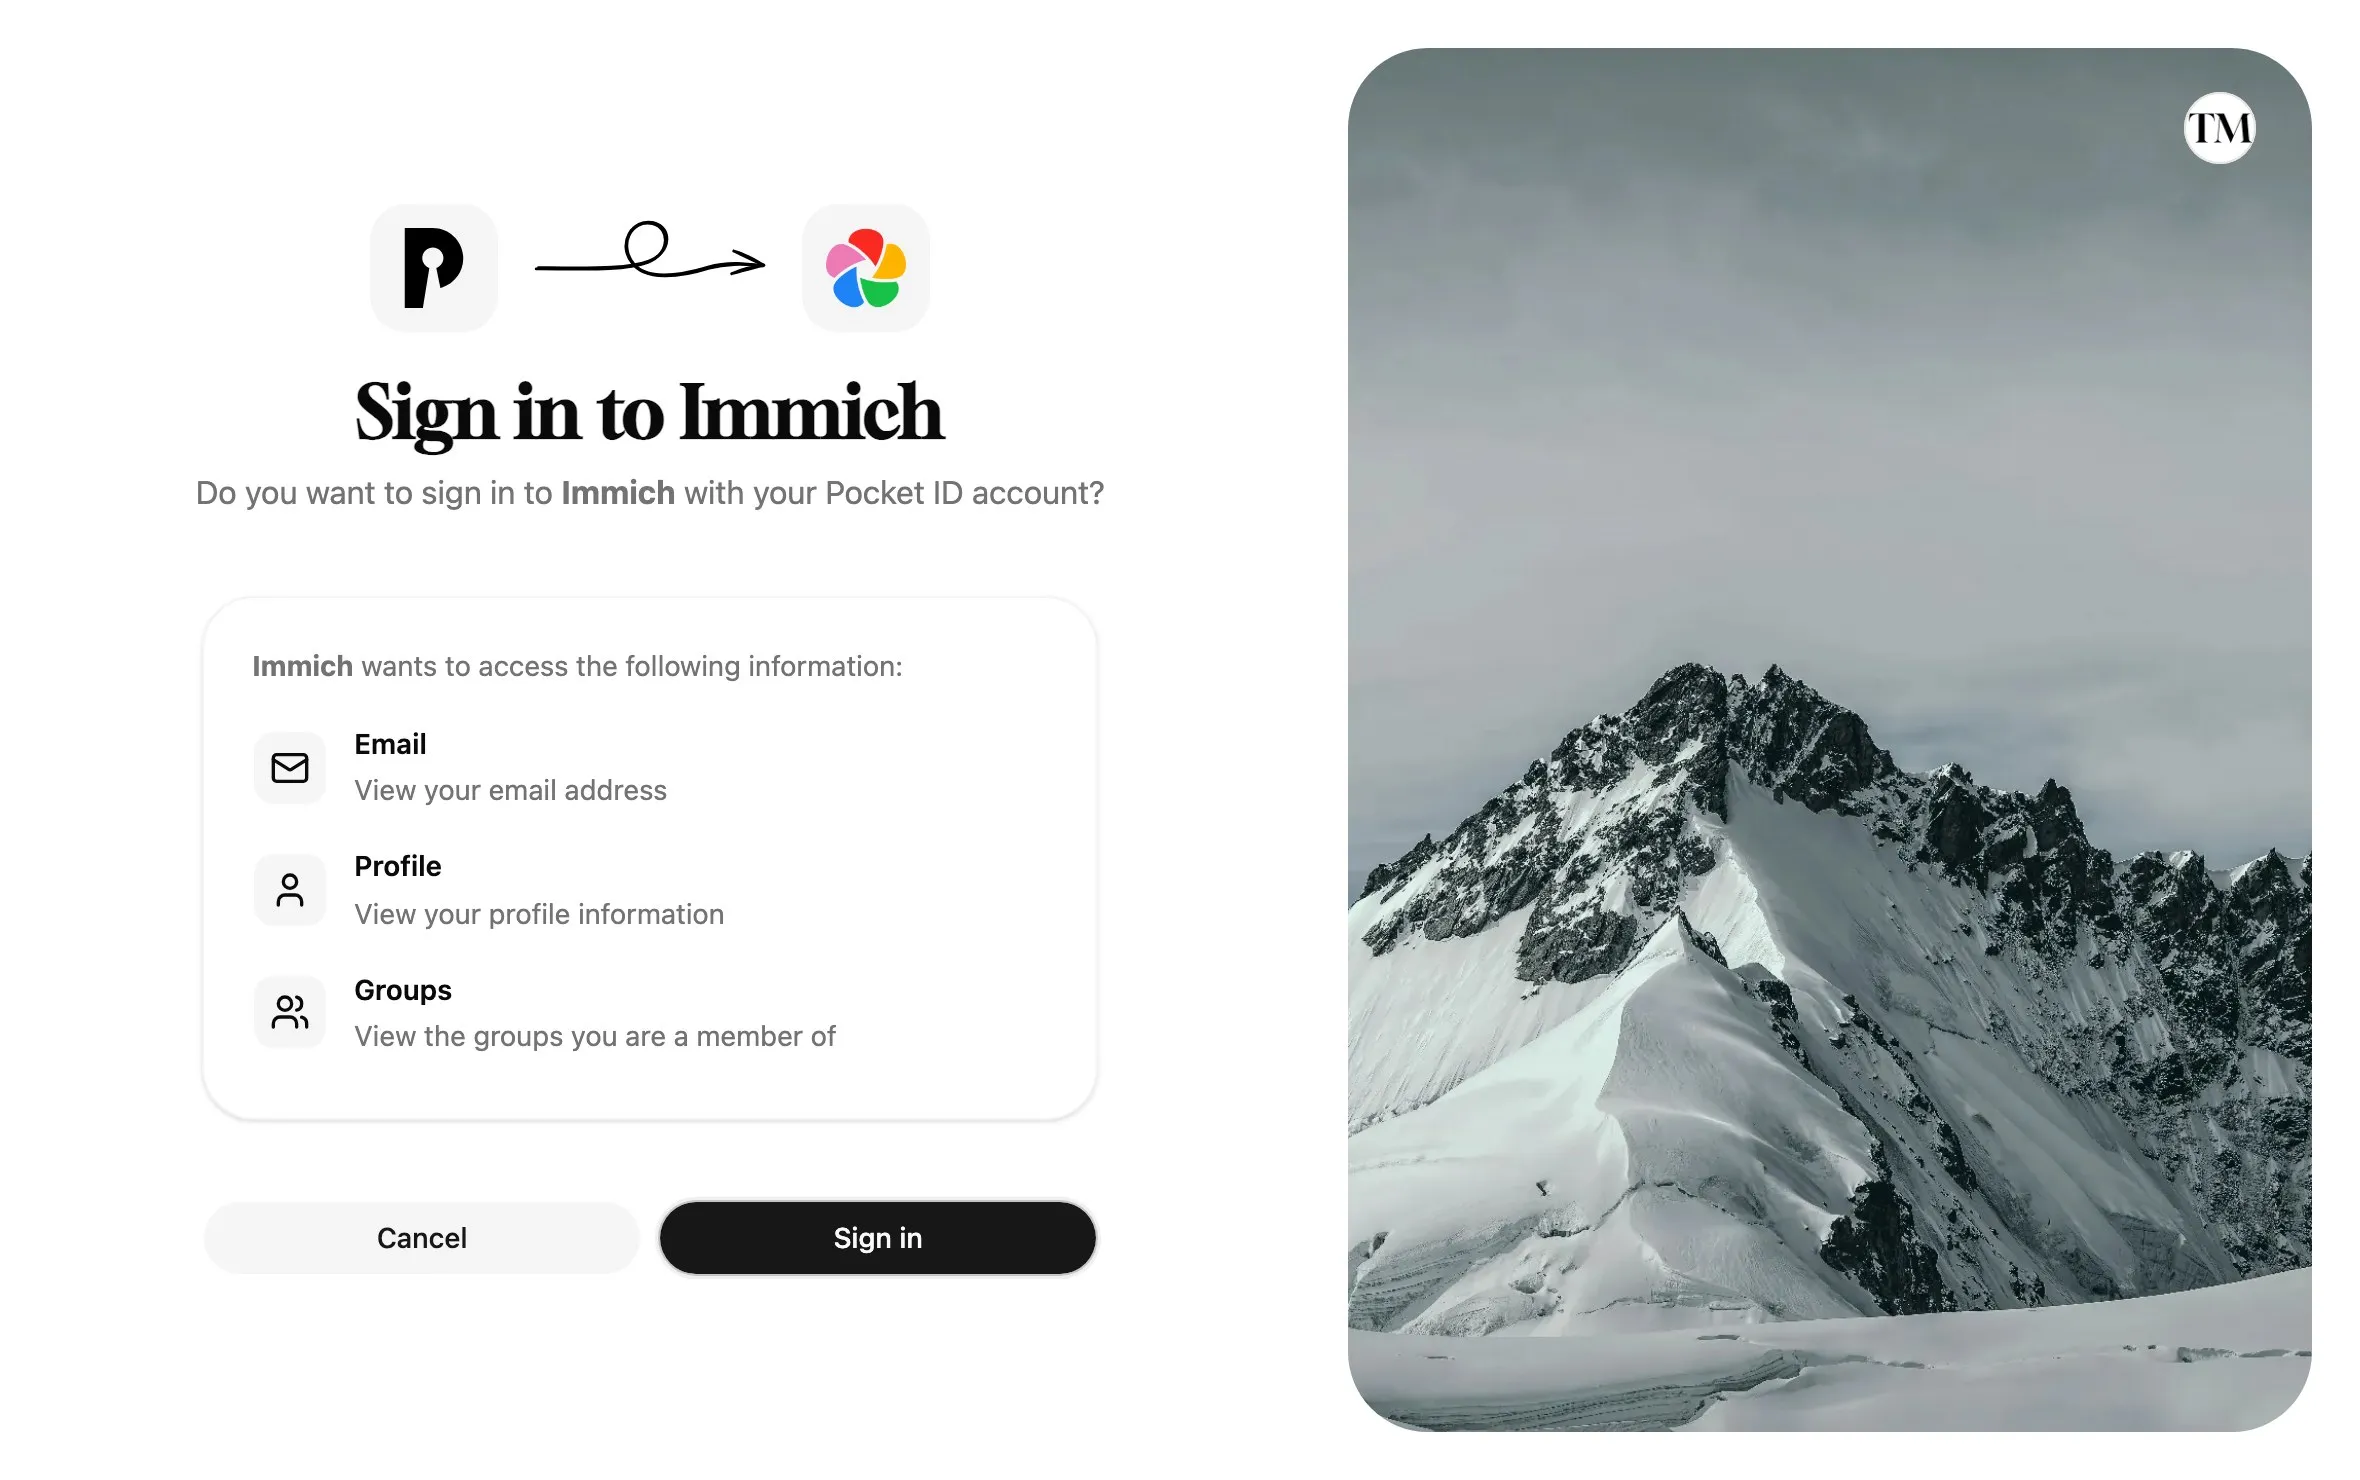
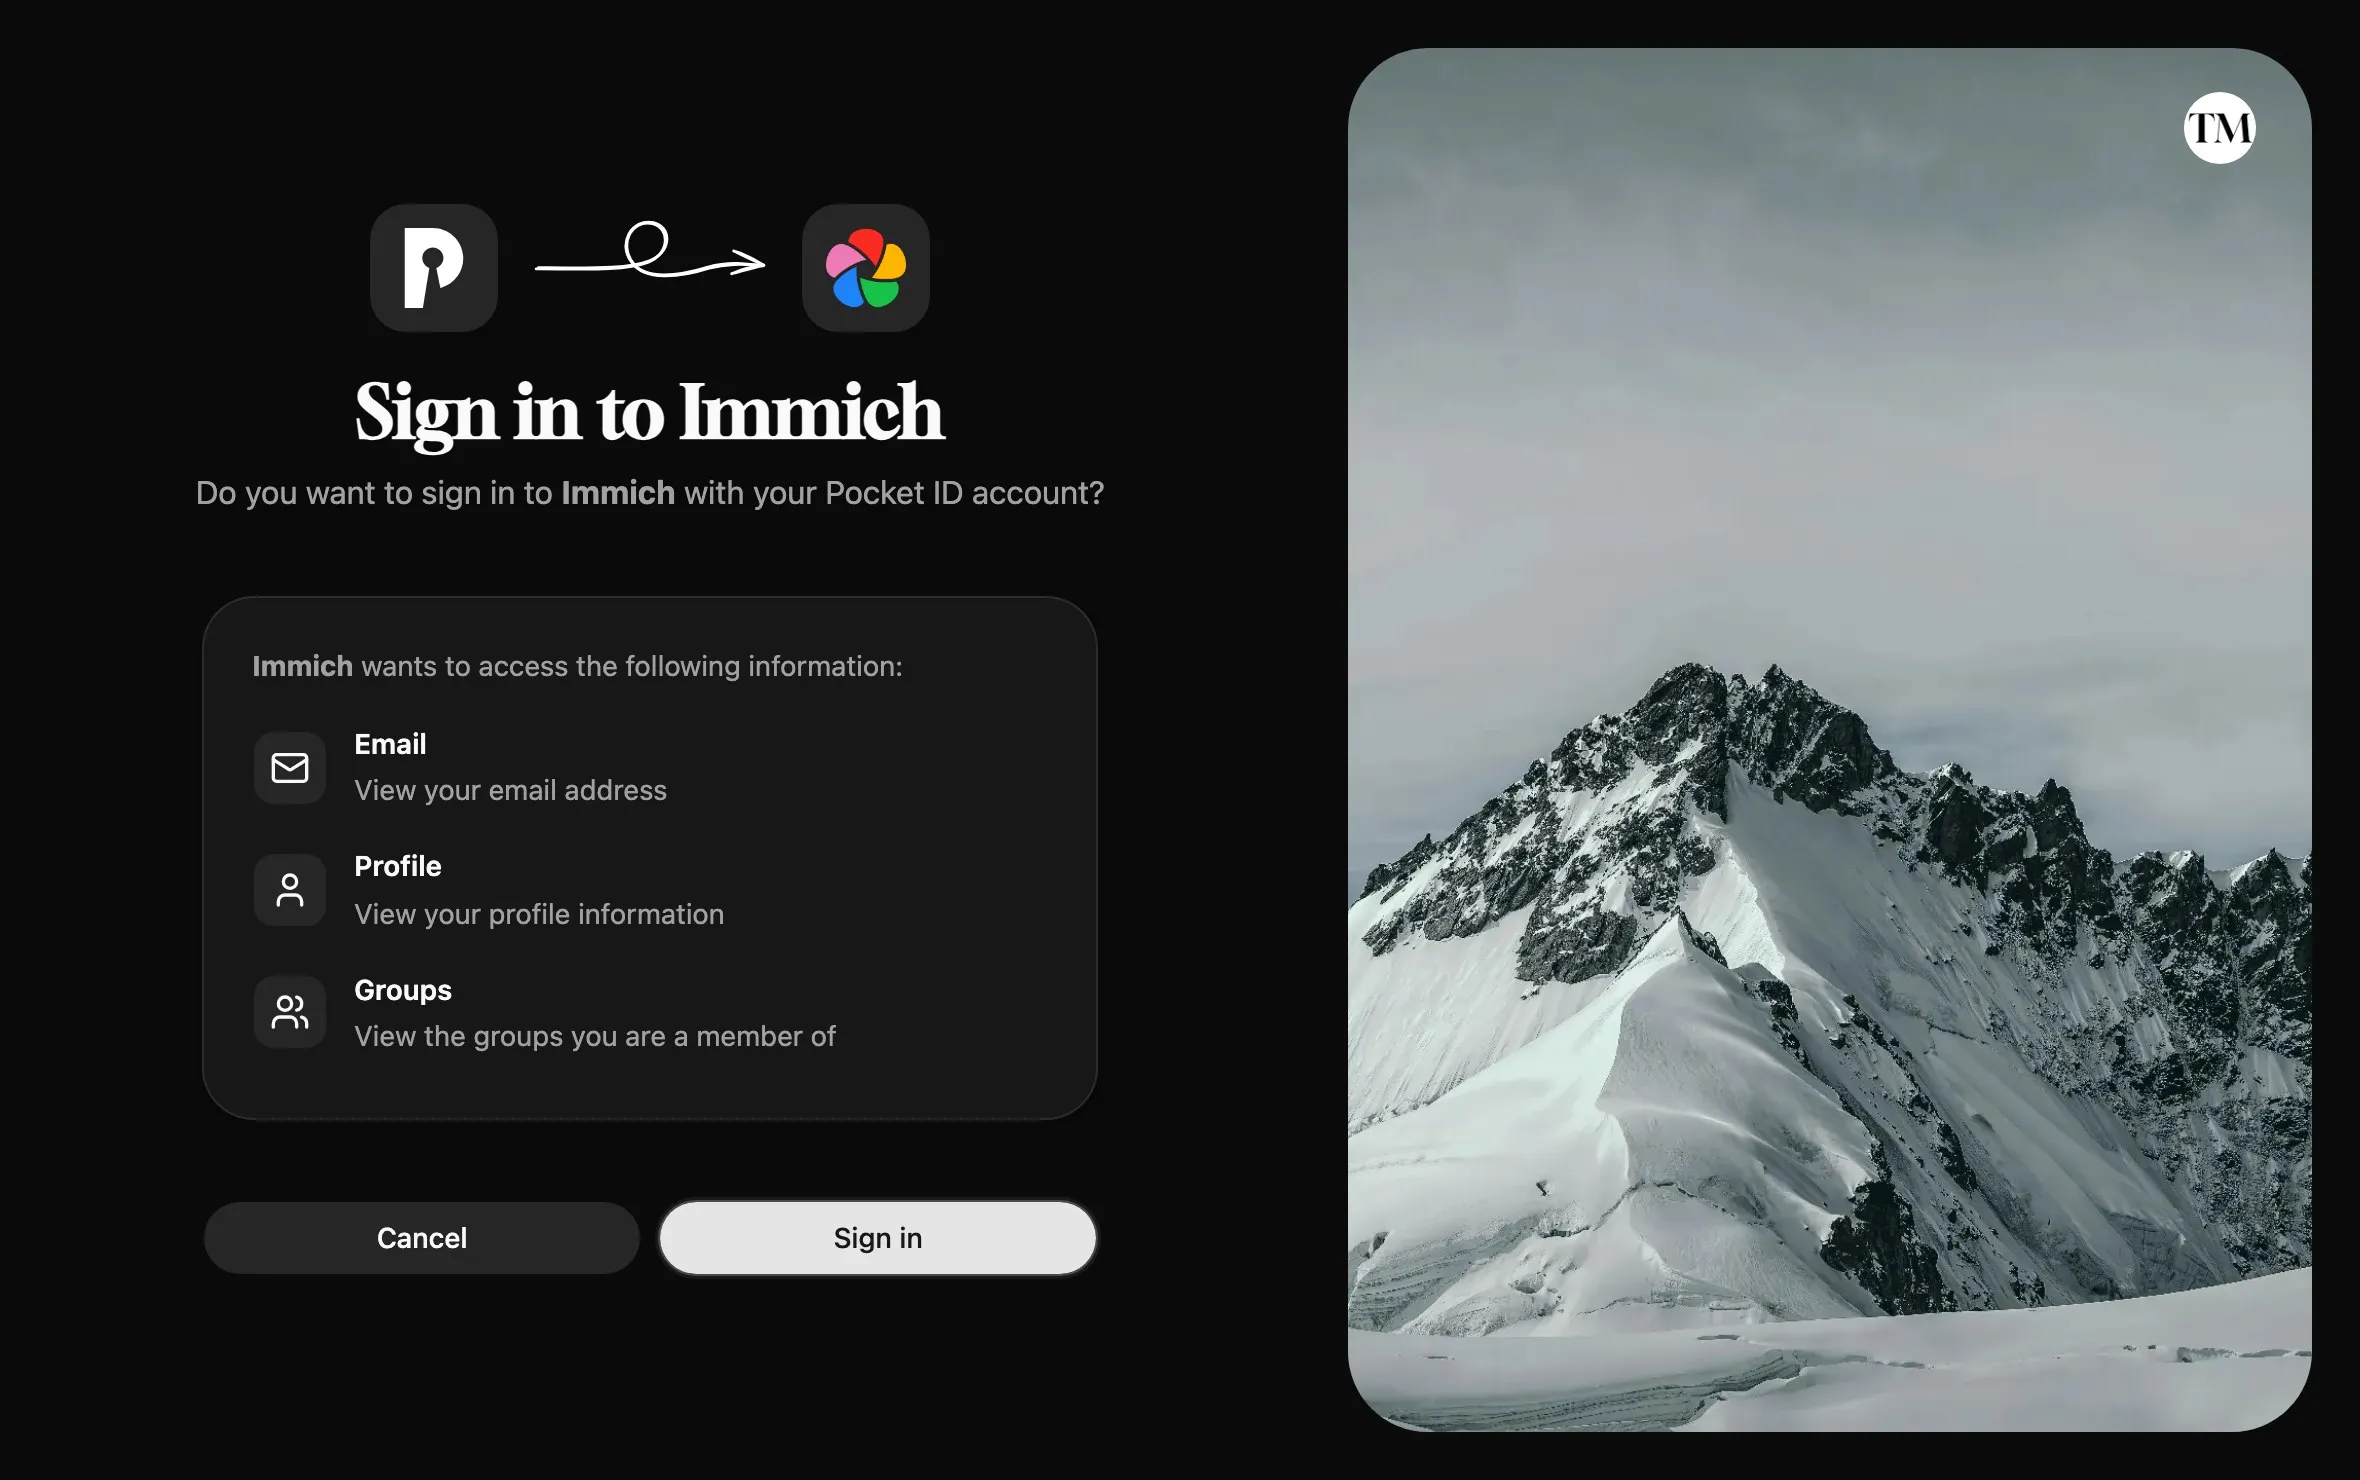
Pocket ID remembers the answer, and only asks again when the app requests more than before. Users can revoke it under My Apps, and you can turn the screen off for trusted clients with Skip Consent Screen on the client’s General tab.
If the sign-in fails, Common issues covers the usual causes, such as a callback URL that doesn’t match.
Endpoints
Section titled “Endpoints”Every endpoint is relative to your APP_URL, and the discovery document lists them all:
| Endpoint | Path |
|---|---|
| Discovery | /.well-known/openid-configuration |
| Authorization | /authorize |
| Token | /api/oidc/token |
| Userinfo | /api/oidc/userinfo |
| Signing keys (JWKS) | /.well-known/jwks.json |
| End session (logout) | /api/oidc/end-session |
| Token introspection | /api/oidc/introspect |
| Device authorization | /api/oidc/device/authorize |
| Pushed authorization requests | /api/oidc/par |
The token, userinfo, introspection, JWKS and pushed authorization endpoints use INTERNAL_APP_URL instead of APP_URL when you set it, for apps that reach Pocket ID at another address than browsers do.
Scopes and claims describes what the tokens contain.