

Installation
Run Pocket ID with Docker Compose or as a single binary, then create the admin account and its passkey.
Pocket ID is a single program with a built-in SQLite database, so one container or one binary is all it needs.
Install
Section titled “Install”-
Download the Compose file and the example
.envfile:Terminal window curl -O https://raw.githubusercontent.com/pocket-id/pocket-id/main/docker-compose.ymlcurl -o .env https://raw.githubusercontent.com/pocket-id/pocket-id/main/.env.example -
Set the address you’ll open Pocket ID at and an encryption key in
.env:.env APP_URL=https://id.example.com# Generate one with: openssl rand -base64 32ENCRYPTION_KEY=<random string of at least 16 characters>Environment variables lists every other option.
-
Start Pocket ID:
Terminal window docker compose up -d
Pocket ID listens on port 1411 and keeps its database and uploads in ./data.
The images are published as ghcr.io/pocket-id/pocket-id and pocketid/pocket-id on Docker Hub.
-
Download the binary for your system from the latest release, named
pocket-id_<os>_<architecture>, such aspocket-id_linux_amd64:Terminal window curl -fL -o pocket-id https://github.com/pocket-id/pocket-id/releases/latest/download/pocket-id_linux_amd64chmod +x pocket-idReleases cover Linux, macOS, Windows, FreeBSD and OpenBSD on amd64 and arm64, and Linux on 386 and armv7.
-
Download the example
.envfile next to the binary and setAPP_URLandENCRYPTION_KEYin it, as in the Docker Compose steps:Terminal window curl -o .env https://raw.githubusercontent.com/pocket-id/pocket-id/main/.env.example -
Start Pocket ID:
Terminal window ./pocket-id
Pocket ID reads the .env file from the directory it runs in, listens on port 1411 and keeps its data in a data directory next to it.
To run it as a service, start it with systemd or your platform’s equivalent.
Create the admin account
Section titled “Create the admin account”Open https://id.example.com/setup and fill in your username, email address and name.
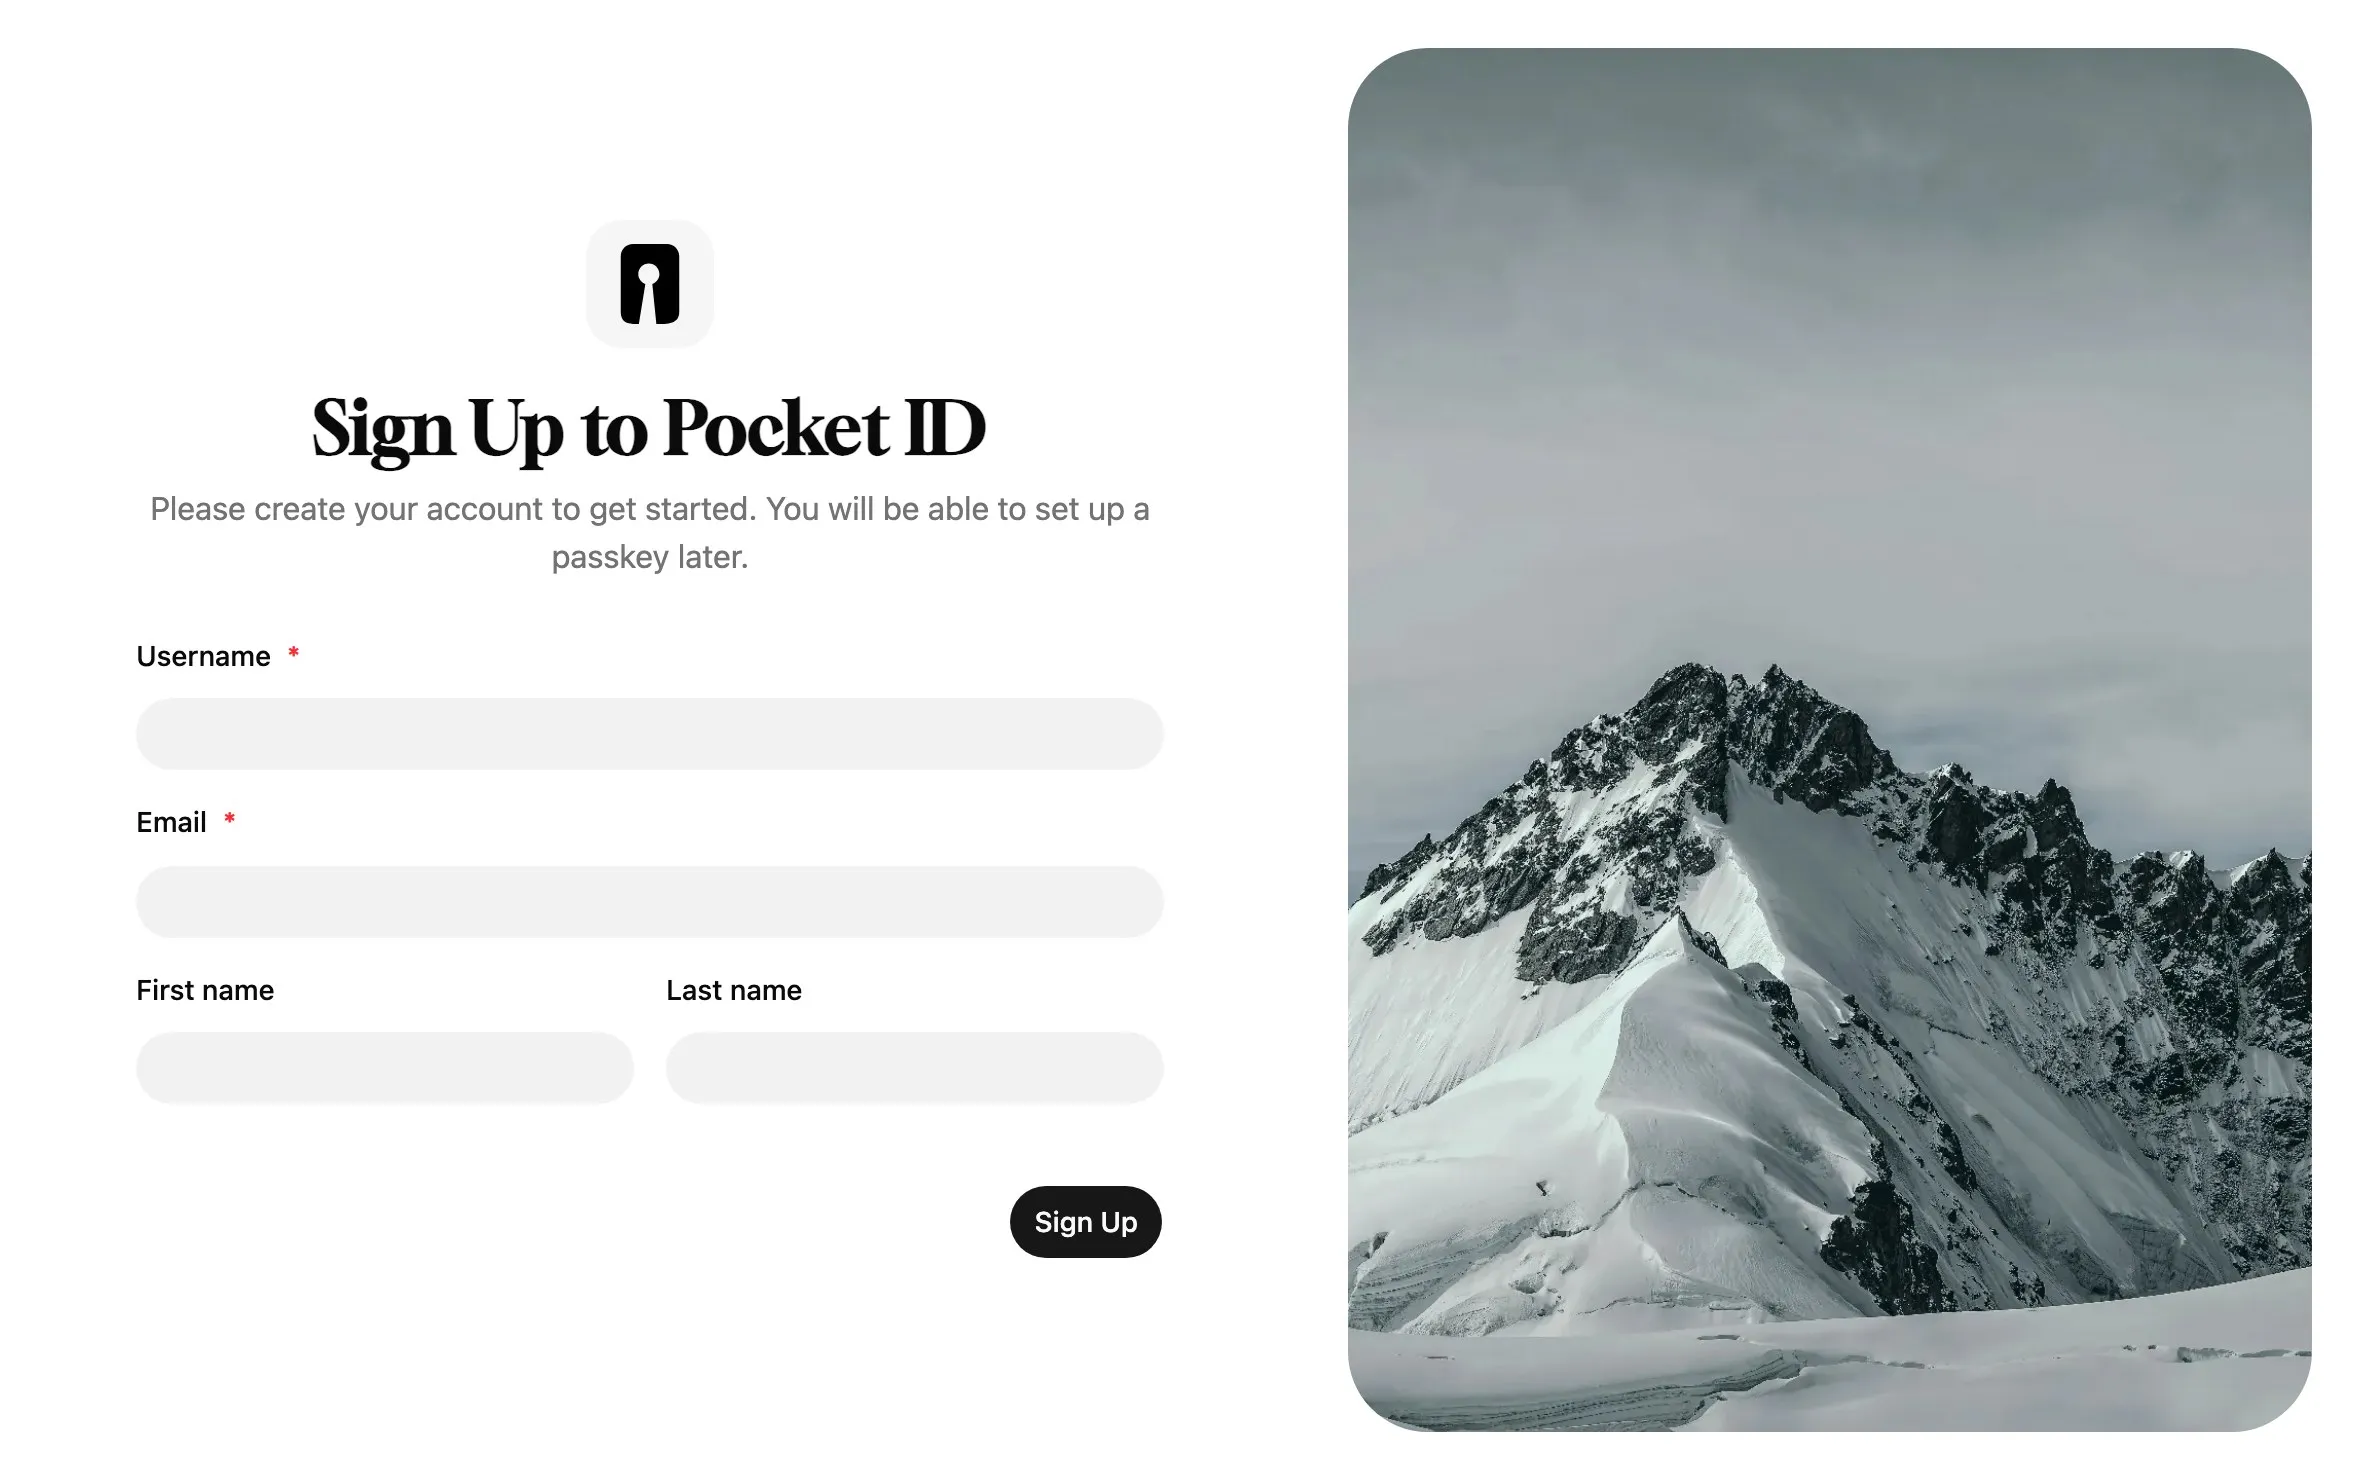
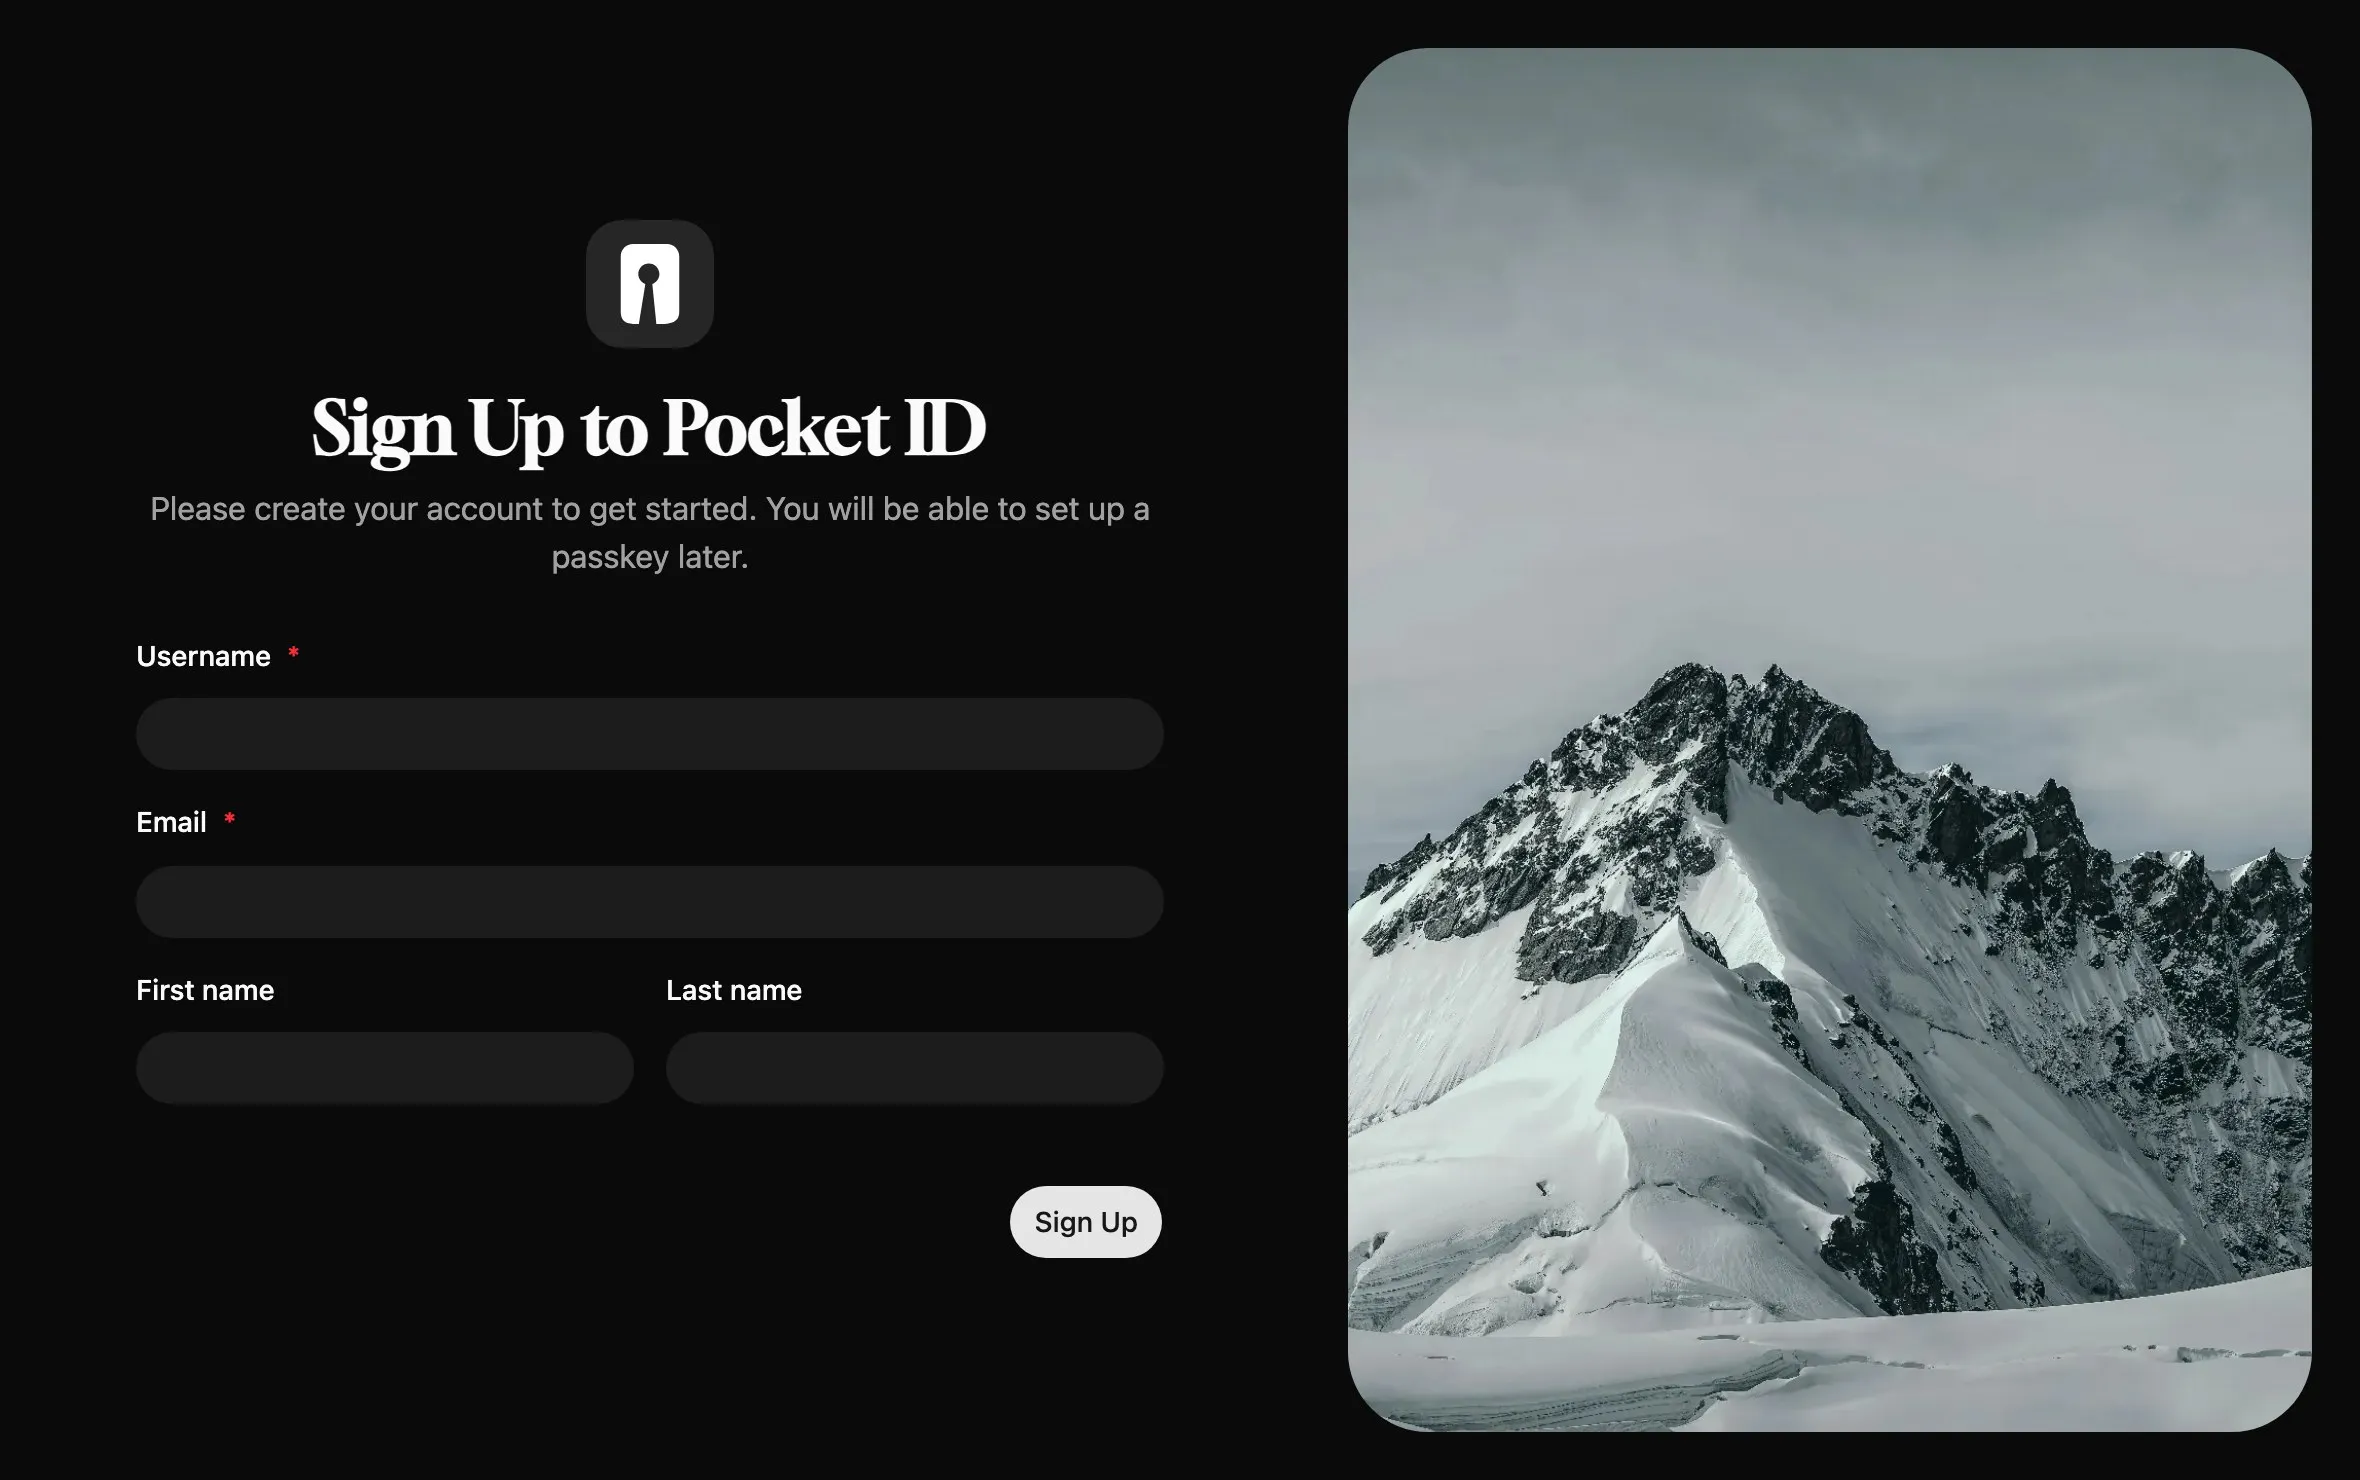
After Sign Up, Pocket ID asks you to set up a passkey: click Add Passkey, since that’s how you sign in from now on. The setup page only works until the first account exists.
Next, connect your first app, or add users.
Offline use
Section titled “Offline use”Pocket ID makes three kinds of outgoing requests, which you can turn off for air-gapped servers:
VERSION_CHECK_DISABLED=truestops the check for new releases on GitHub.ANALYTICS_DISABLED=truestops the daily heartbeat that counts running instances.ICON_LIBRARY_URL=disabledstops the icon search for client logos, which loads the selfh.st icons from jsDelivr.
Community installation methods
Section titled “Community installation methods”Podman Quadlet
Section titled “Podman Quadlet”For rootless Podman, save this as ~/.config/containers/systemd/pocket-id.container.
For rootful Podman, save it in /etc/containers/systemd/ and change WantedBy to multi-user.target.
[Container]Image=ghcr.io/pocket-id/pocket-id:v2PublishPort=1411:1411Volume=pocket-id:/app/data:Z
# Optional: updates the image automatically, needs podman-auto-update.timerAutoUpdate=registry
HealthCmd=/app/pocket-id healthcheckHealthInterval=1m30sHealthTimeout=5sHealthRetries=2HealthStartPeriod=10s
Environment=APP_URL=https://id.example.com# A file with the key, generated with: openssl rand -base64 32Environment=ENCRYPTION_KEY_FILE=/path/to/encryption_key
[Service]Restart=always
[Install]WantedBy=default.target
Proxmox
Section titled “Proxmox”Run the community helper script as root in the Proxmox shell:
bash -c "$(wget -qLO - https://github.com/community-scripts/ProxmoxVE/raw/main/ct/pocketid.sh)"The script installs Pocket ID as a service in /opt/pocket-id, with its configuration in /opt/pocket-id/.env.
Kubernetes
Section titled “Kubernetes”- Helm chart by @hobbit44
- Helm chart by anza-labs
- Kubernetes operator by @aclerici38
Other platforms
Section titled “Other platforms”- Unraid: install Pocket ID from the Community Apps store.
- NixOS: enable the module with
services.pocket-id.enable = true;, and see its options. - Homebrew:
brew install pocket-id
Build from source
Section titled “Build from source”Building from source needs Go 1.27 or newer, Node.js 24 or newer with pnpm, and Git:
git clone https://github.com/pocket-id/pocket-idcd pocket-idgit checkout "$(git describe --tags "$(git rev-list --tags --max-count=1)")"
# The frontend builds into the backend, which embeds it into the binarypnpm installpnpm --filter pocket-id-frontend buildcd backendgo build -o ../pocket-id ./cmd
Then create a .env file next to the binary and start it as in the binary steps above.