

APIs and permissions
Let applications get access tokens for your APIs with only the permissions they need.
Pocket ID can issue access tokens that an application can use to call your API. This is useful when, for example, a web app signs a user in and then needs to load data from its backend.
You define:
- the API that will receive the token;
- the permissions that can be included in the token; and
- which OIDC clients may request those permissions.
Your API can then trust the token without creating its own login session.
A simple example
Section titled “A simple example”Imagine you have an order management app:
- the frontend is an OIDC client named
Orders App; - the backend is an API identified by
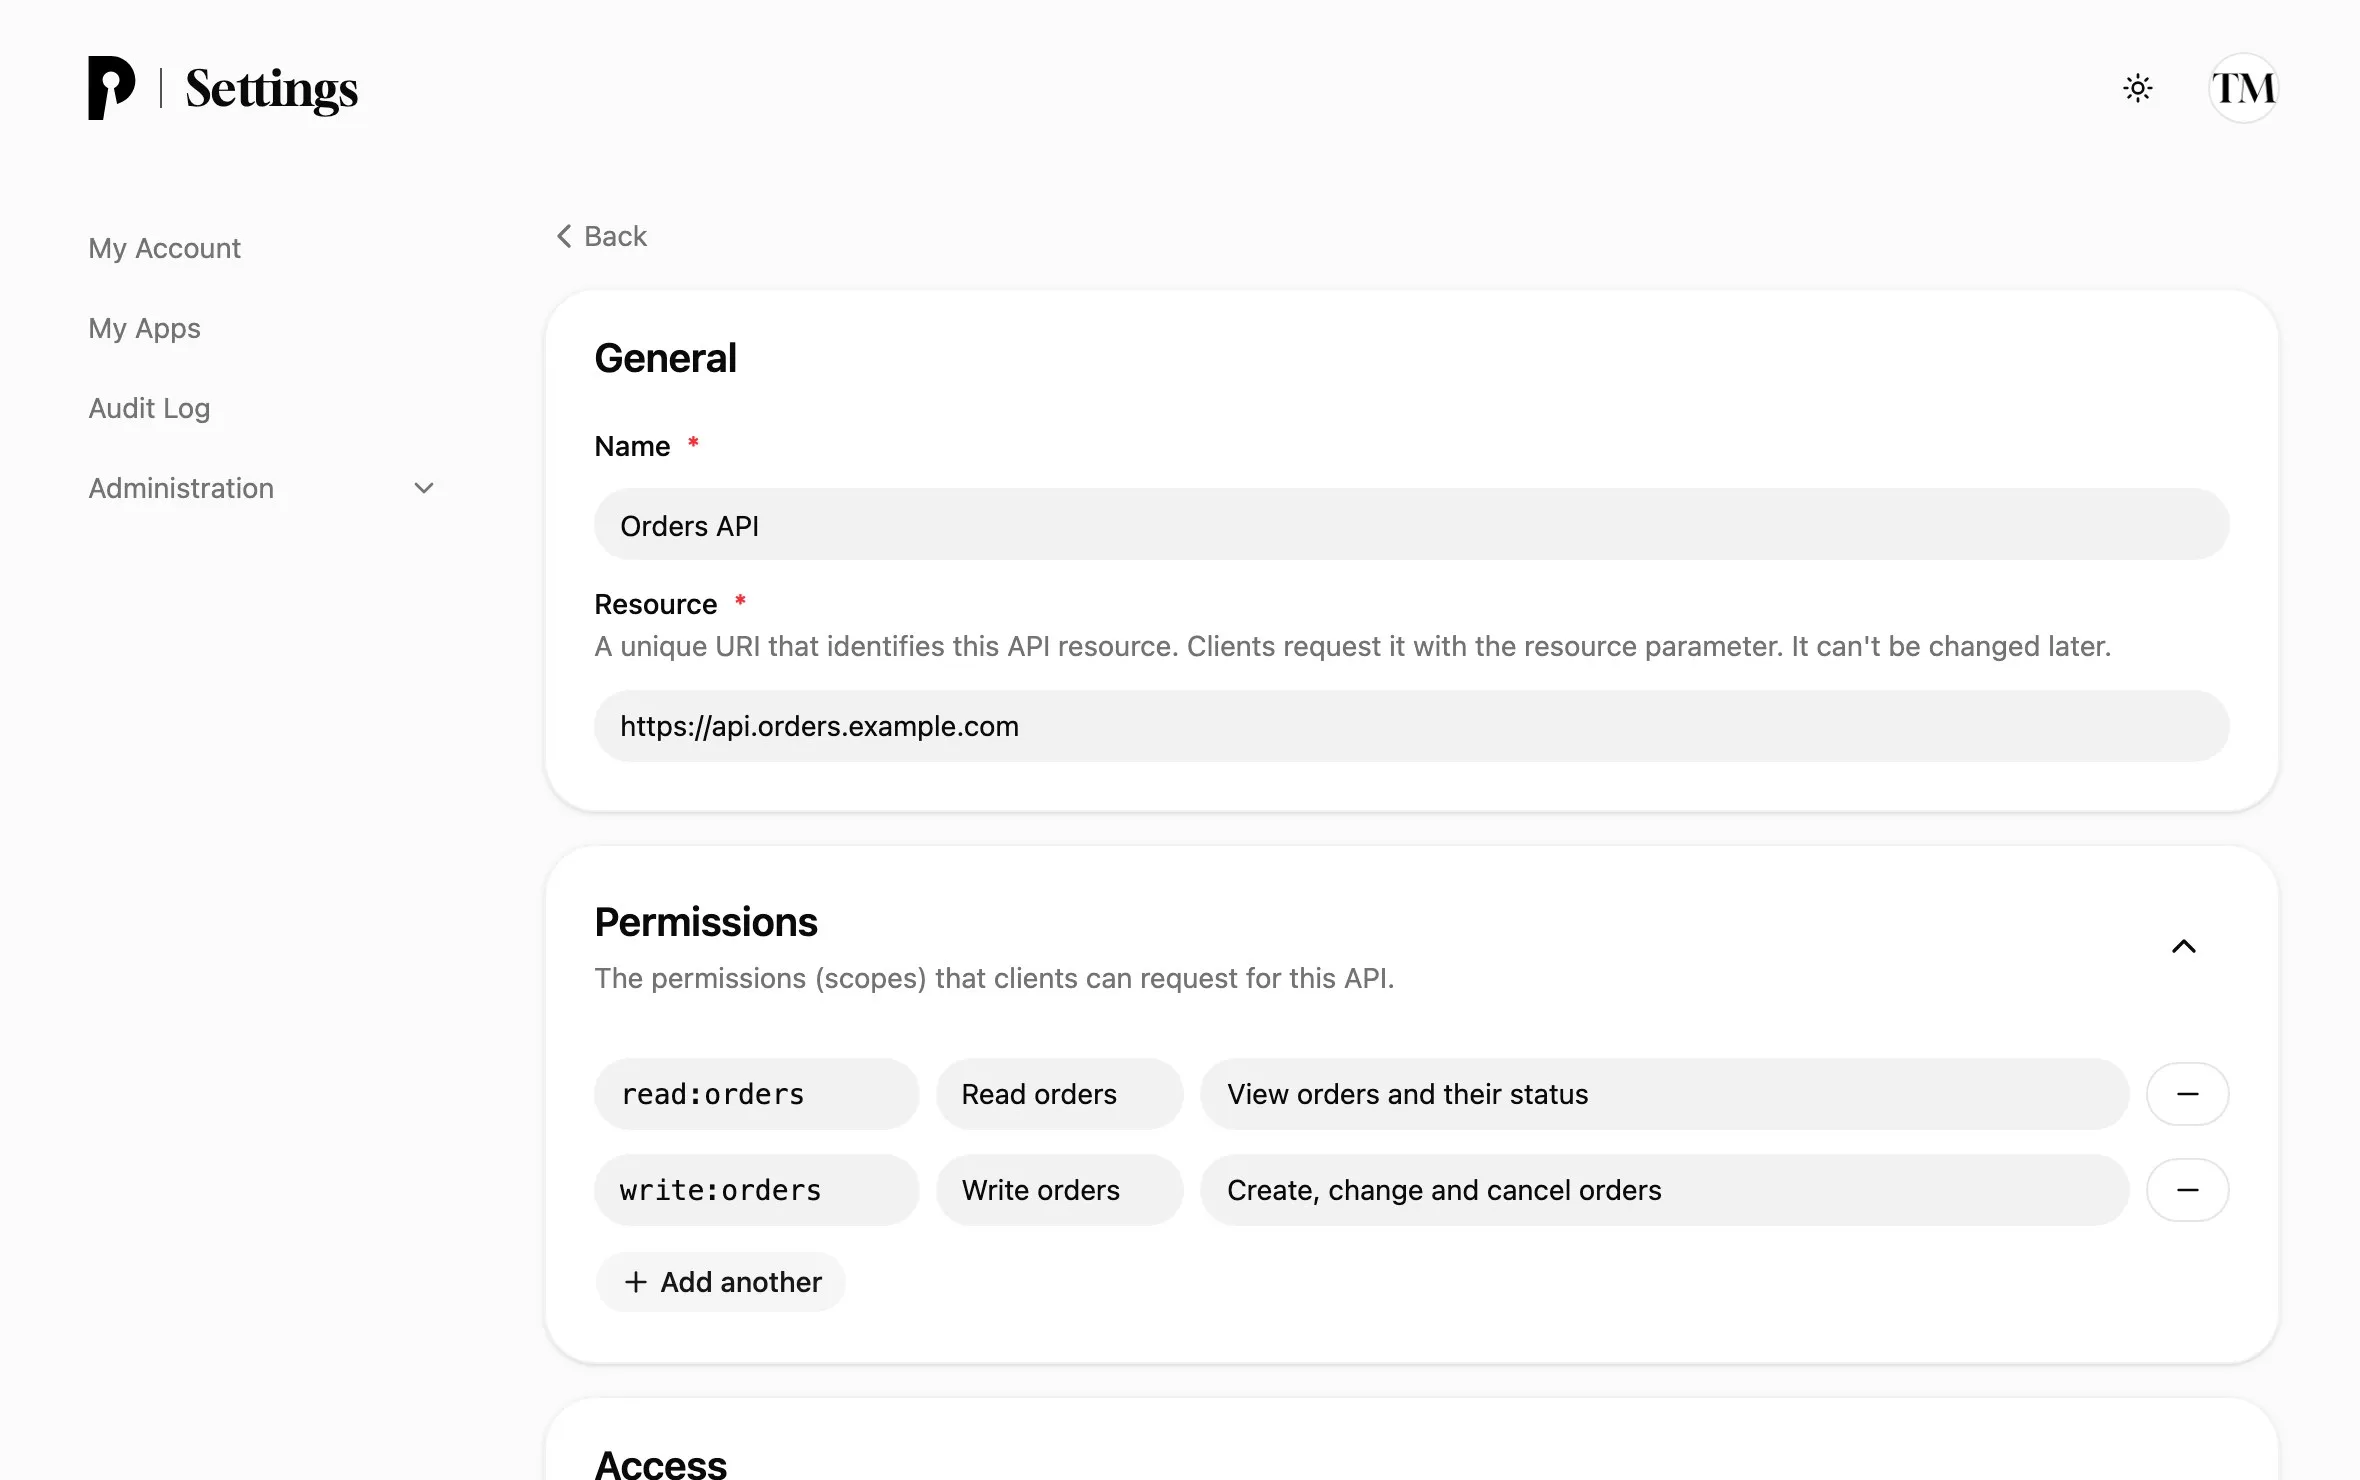
https://api.orders.example.com; and - the API has the permissions
read:ordersandwrite:orders.
The frontend asks Pocket ID for an access token for the Orders API. The token says which API it is for and which actions are allowed. The backend checks the token before returning or changing any orders.
Create an API
Section titled “Create an API”- Open Administration → APIs.
- Select Add API.
- Enter a friendly name, such as
Orders API. - Enter a unique resource, such as
https://api.orders.example.com. - Save the API.
The resource is the permanent identifier for your API. It usually looks like a URL, but it does not need to be a page that exists. Choose it carefully because it cannot be changed later. Pocket ID removes trailing slashes, so https://api.orders.example.com and https://api.orders.example.com/ identify the same resource. Issued tokens use the version without the trailing slash in their aud claim.
Add permissions
Section titled “Add permissions”Open the API you created and add the actions that clients may request. Each permission has:
- a permission key used in token requests, such as
read:orders; - a friendly name shown to users, such as
Read orders; and - an optional description explaining what it allows.
Keep each permission focused on one action. This lets you give every client only the access it needs.
Allow an OIDC client to use the API
Section titled “Allow an OIDC client to use the API”- Open Administration → OIDC Clients.
- Select the client that will call the API and go to its Access tab.
- Under API access, click Add API and choose the API.
- Select the permissions the client may request.
- Save the changes.
There are two access types:
- User-delegated access: the client calls the API on behalf of the signed-in user. This is the usual choice for web, mobile, and desktop apps.
- Client access (M2M): the client calls the API as itself, without a user. This is useful for background jobs and server-to-server integrations.
Public clients cannot use client access because they cannot safely keep a client secret.
Allow metadata-document clients to use the API
Section titled “Allow metadata-document clients to use the API”You can grant user-delegated access to every client registered through a Client ID Metadata Document:
- Open Administration → APIs and select the API.
- Under API access, select Metadata document clients.
- Enable Allow all metadata document clients.
- Select the permissions these clients may request.
- Save the API.
The grant applies to current and future metadata-document clients. It does not grant client access (M2M), because these clients are public. Manage this API-wide grant on the API rather than on an individual client.
Request an access token for a user
Section titled “Request an access token for a user”Use your application’s normal authorization code flow. Add the API resource and the permissions you need to the authorization request:
resource=https://api.orders.example.comscope=openid read:ordersMost OIDC libraries let you add resource as an extra authorization parameter. Continue using the regular Pocket ID discovery URL and the authorization code flow as before.
The user may be asked to approve the requested permission. After sign-in, use the returned access token when calling the API:
Authorization: Bearer <access-token>Do not send the ID token to the API. The ID token tells the client who signed in; the access token grants access to the API.
Request a token without a user
Section titled “Request a token without a user”A confidential client can use the client credentials grant for background jobs or server-to-server calls:
curl --request POST "https://id.example.com/api/oidc/token" \ --form "grant_type=client_credentials" \ --form "client_id=<client-id>" \ --form "client_secret=<client-secret>" \ --form "resource=https://api.orders.example.com" \ --form "scope=read:orders"Replace the URL and credentials with your own values. The requested permission must be enabled under Client access (M2M) for that OIDC client.
If you do not want to store a client secret, see OIDC Client Authentication for other supported authentication methods.
Validate the token in your API
Section titled “Validate the token in your API”Use a standard JWT or OAuth library in your backend. Before accepting a request, verify that:
- the token’s signature is valid using the keys published by Pocket ID;
- the issuer (
iss) is your Pocket ID instance; - the audience (
aud) contains your API’s resource; - the token has not expired; and
- the token contains the permission required for the action.
For example, an endpoint that returns orders should require read:orders, while an endpoint that changes an order should require write:orders.